
Old or contaminated insulation can cause serious problems for any home. Moisture, rodent activity, and age all reduce the effectiveness of attic and crawlspace insulation over time. A proper removal process protects the structure of a home and improves air quality for everyone inside. Homeowners who address this issue sooner tend to avoid costly structural repairs down the line.
Professional insulation removal in Washington state follows a clear, step-by-step method that keeps homes safe, clean, and ready for fresh, high-quality insulation. This article explains each step professionals take to remove old insulation the right way.
Preparation and Site Setup
A trained crew starts with a full site check before any work begins. The team inspects attic or wall areas to note damage and debris. They also check insulation type and depth to plan the correct removal method. Next, workers seal off nearby spaces to stop the spread. Plastic sheets and tape help create a clear work zone. Safety gear, such as gloves and masks, protects workers during the task and helps maintain safe air quality inside the home.
Inspection and Safety Measures
A careful inspection helps identify hidden issues before removal starts. The crew checks for mold, pest waste, or water damage in each section. Each issue needs a clear plan to avoid further spread. Proper tools help control dust and keep the air clean. This step ensures a safe and controlled work process from start to finish.
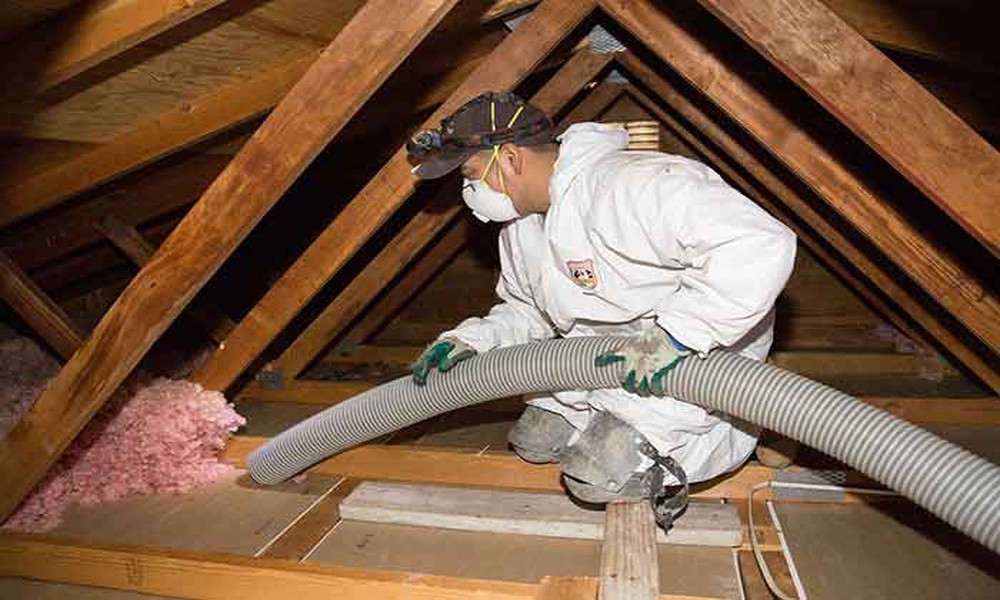
Removal Equipment and Methods
The team uses specific tools to complete the job with care and speed. Each method depends on the insulation type and space layout.
- Vacuum systems remove loose fill material with strong suction and sealed hoses.
- Manual tools help extract batt insulation from tight or hard-to-reach spaces.
- Heavy-duty bags store removed material for safe transport and disposal.
- Air filters run during the process to reduce dust and improve air quality.
Waste Removal and Disposal
Proper waste management keeps the work area safe and clean after removal. The crew in Washington follows clear steps to handle all removed materials.
- Each bag gets sealed tightly to prevent dust or debris from escape.
- The team labels waste based on type for correct disposal rules.
- Approved sites receive the waste to meet local safety standards.
- Cleanup tools remove any leftover particles from the work zone.
Clean the Area and Final Check
After removal, the crew cleans every part of the space with care. Vacuum systems clear small debris left behind in corners or gaps. The team checks surfaces for dust or residue that may affect new insulation. At this stage, insulation removal in Washington state ensures a fresh base for new material. A final review confirms that the space meets all cleanliness standards.
Preparation for New Insulation
A clean and dry surface helps new insulation perform at its best. The crew checks for air leaks and seals gaps in walls or attic floors. Each repair step improves energy efficiency and indoor comfort. Proper preparation also helps extend the life of new insulation. This final step completes the full process before installation begins in Washington.
Proper insulation removal in Washington supports a clean and efficient home environment. Each step in this process ensures safety, clear air, and a solid base for new insulation. Skilled work also helps reduce energy waste and improve comfort indoors. A careful approach leads to better long-term results for any property. Schedule a professional inspection early to identify issues and plan a smooth removal process with confidence.